Pancetta di fagioli verdi avvolti

Bacon-Wrapped Green Bean Bundles

Servings

4-6

Prep Time

10 minutes

Cook Time

25 minutes

Calories

180

Cuisine

American

Category

Side Dish

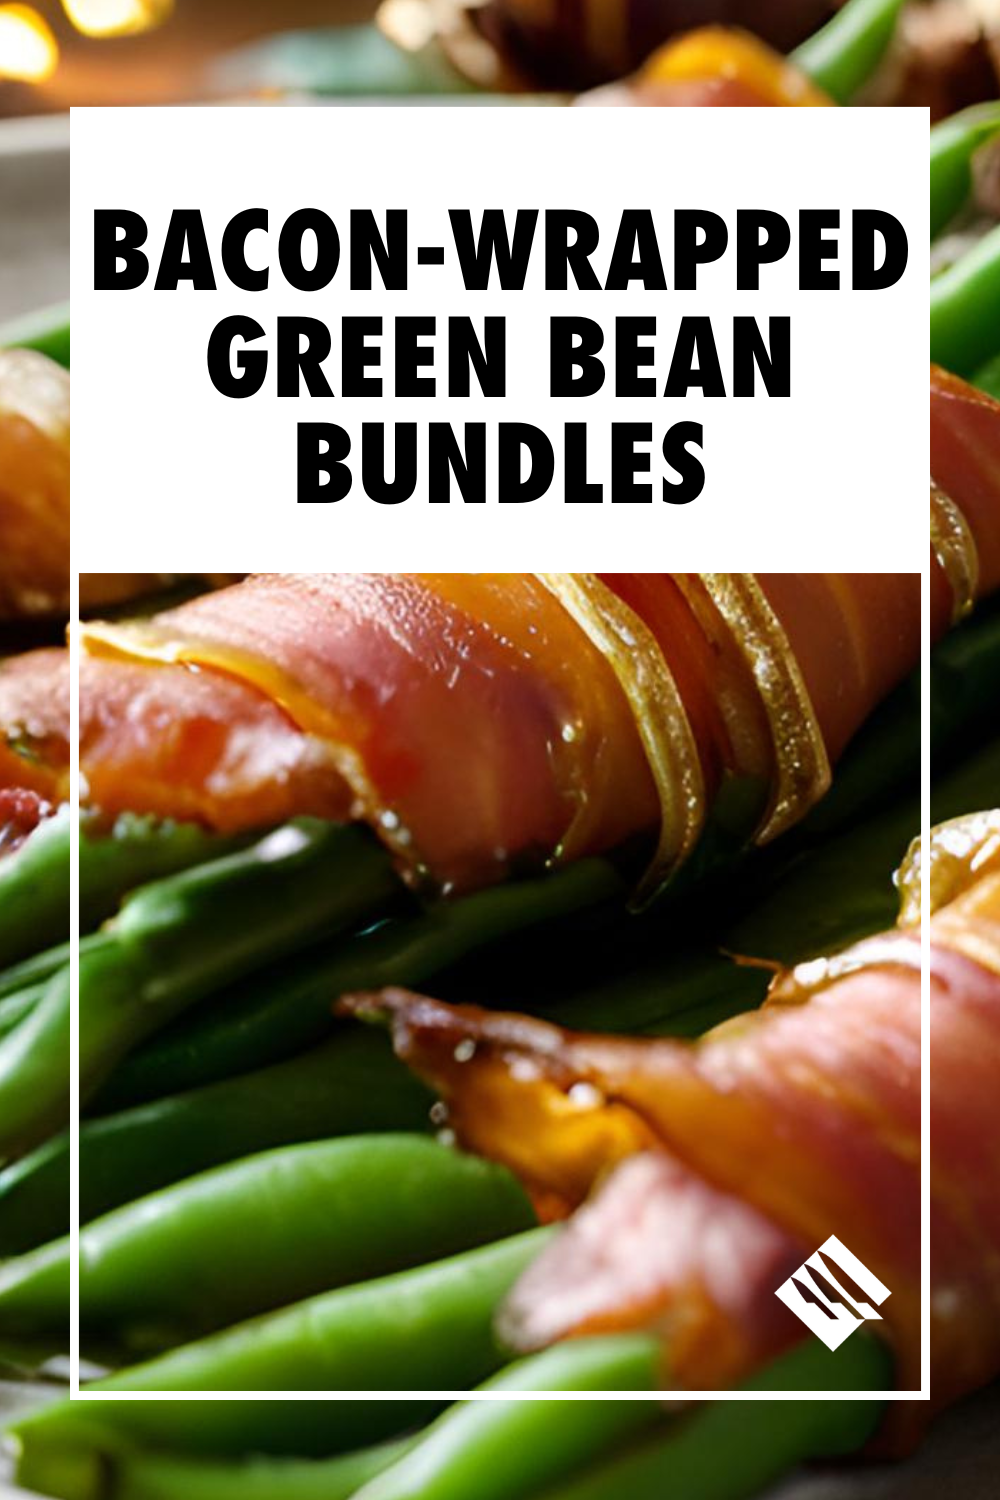
Bacon-Wrapped Green Bean Bundles are the ultimate holiday side dish, combining crispy, smoky bacon with tender green beans and a sweet-savoury glaze. 


The brown sugar and soy sauce caramelise as they bake, creating a dish that's as visually stunning as it is delicious.


Serve these elegant bundles on a festive platter for Thanksgiving, Christmas, or any dinner party, and watch them disappear in seconds! 


Perfect as a side or even an appetiser, they’ll become a new family favourite.

Bacon-Wrapped Green Bean Bundles

Ingredients

  • 1 lb fresh green beans, trimmed

  • 8–10 slices of bacon (thin-cut for easier wrapping)

  • 2 tbsp butter, melted

  • 2 tbsp brown sugar

  • 1 tbsp soy sauce

  • 1 tsp garlic powder

  • 1/2 tsp black pepper

  • Fresh parsley, chopped

  • A sprinkle of red pepper flakes

Directions

  1. Preheat your oven to 400°F (200°C).

  2. Blanch the green beans in boiling water for 2–3 minutes. Drain and pat dry.

  3. Divide the green beans into small bundles of 6–8 beans. Wrap each bundle tightly with a slice of bacon, securing with a toothpick if needed.

  4. In a small bowl, whisk together melted butter, brown sugar, soy sauce, garlic powder, and black pepper.

  5. Place the bundles seam-side down on a parchment-lined baking sheet. Brush each bundle generously with the glaze.

  6. Bake for 20–25 minutes, flipping halfway through, until the bacon is crispy and caramelised.

  7. Remove toothpicks, garnish with parsley or red pepper flakes, and serve warm.

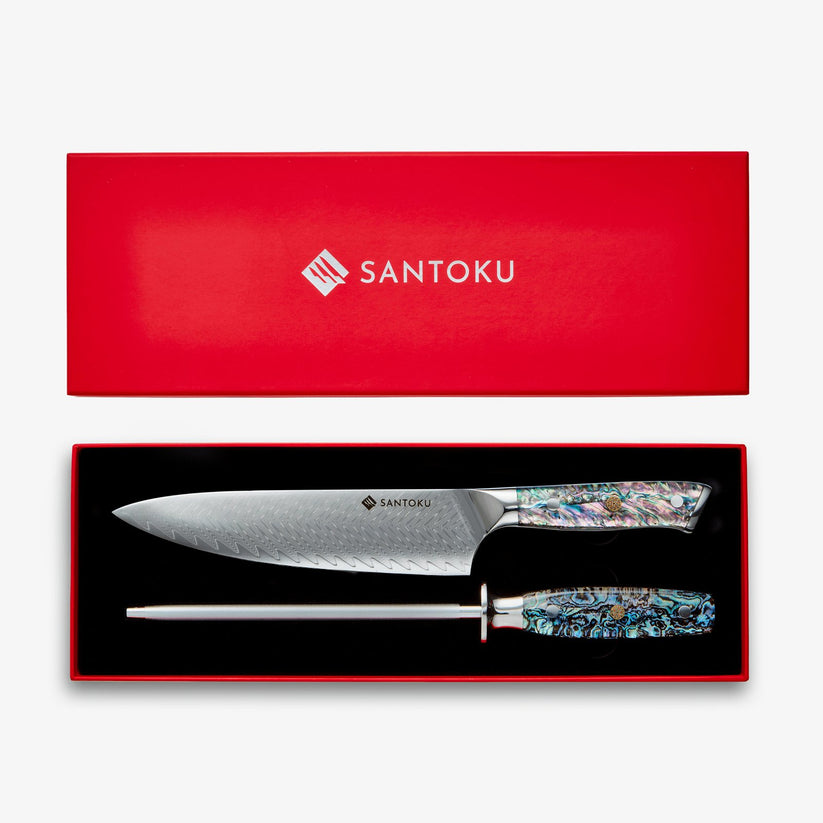
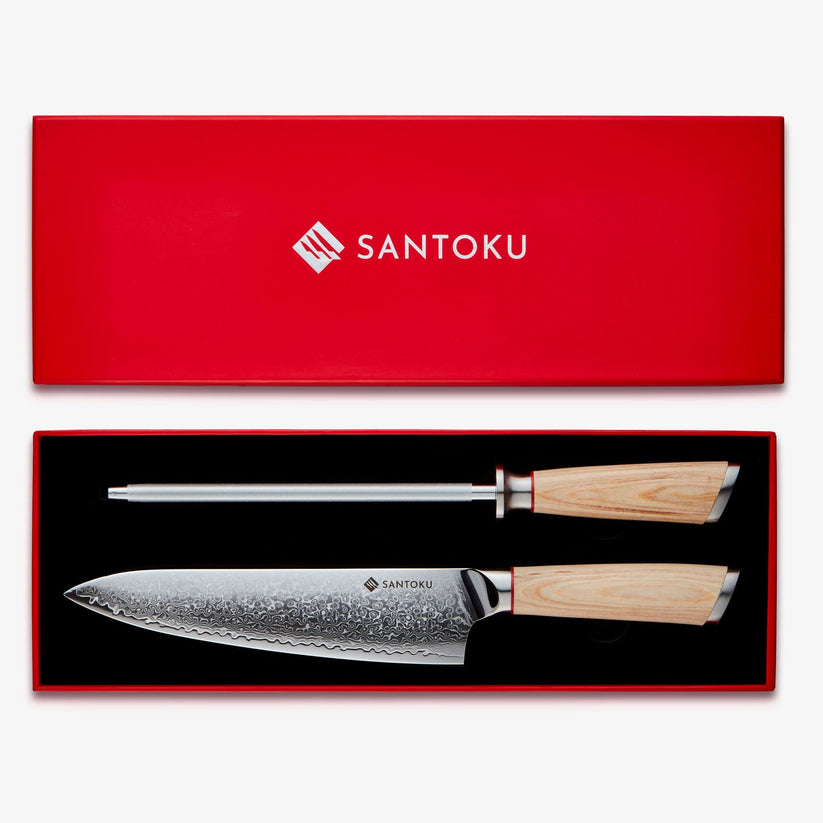
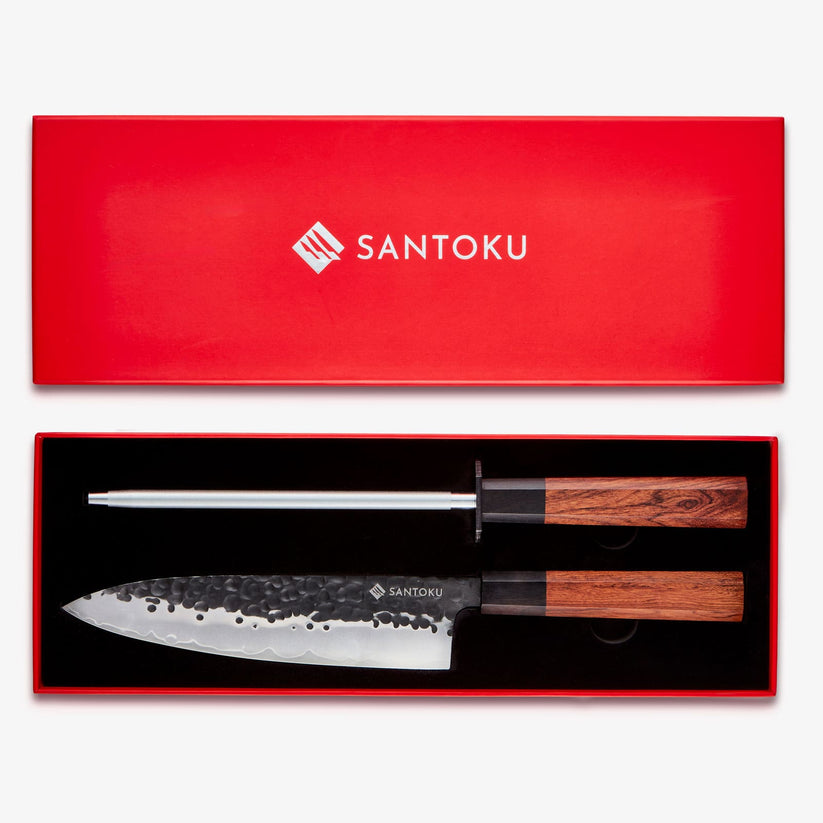
Upgrade Your Kitchen Tools

Make recipe prep easier with professional-grade knives

Browse Collection


Suggerimenti per la cottura

  1. Scegli la pancetta sottile: La pancetta a taglio sottile si avvolge più facilmente e passi più velocemente nel forno.
  2. Bianch First: Bianching dei fagiolini assicura che rimangono teneri e vibranti durante la cottura.
  3. Capovolgi anche per cucinare: Capovolgi i pacchetti a metà della cottura per una pancetta uniformemente croccante.
  4. Personalizza la glassa: Aggiungi un pizzico di sciroppo d'acero o miele per una dolcezza extra o un pizzico di paprika affumicata per un calcio fumoso.
  5. Dentipicks opzionale: Gli stuzzicadenti possono aiutare a tenere insieme i bundle, ma rimuoverli prima di servire una presentazione più elegante.


Servire suggerimenti

  • Abbina con tacchino arrosto, prosciutto o costolette per un pasto completo.
  • Servire come antipasto con una salsa di immersione cremosa, come la senape di miele o il ranch.
  • Guarnire con una spolverata di parmigiano per un tocco in più di sapore.


FAQ

D: Posso farli in anticipo?
UN: SÌ! Assemblare i fasci e refrigerarli (crudi) per un massimo di 24 ore. Cuocere appena prima di servire.

D: Posso usare fagiolini congelati?
UN: I fagioli verdi freschi sono i migliori, ma puoi usare fagioli congelati. Spazzarsi e asciugare prima di avvolgere per evitare un'umidità in eccesso.

D: Come impedisci alla pancetta di scartare?
UN: Usa gli stuzzicadenti per fissare la pancetta o sovrapporre le estremità e posizionare il lato della cucitura sulla teglia.

D: Posso rendere questo piatto senza glutine?
UN: Sostituisci Tamari o una salsa di soia senza glutine nella glassa per mantenere la ricetta senza glutine.

D: Posso sfogliare questi aria invece di cuocere?
UN: Assolutamente! Cuocere i pacchetti nella friggitrice ad aria a 375 ° F (190 ° C) per 10-12 minuti, lanciando a metà strada.

Chef's Recommendation

"A sharp knife is your best friend in the kitchen. For recipes like this, I always reach for my Chikashi chef knife - it gives me the control and precision I need for perfect results every time."
Chef's Note: A sharp knife not only makes prep work faster but also safer - dull knives require more pressure and are more likely to slip.

Discover why our Japanese-style knife sets are trusted by home cooks and professionals alike.

Shop Professional Knives →
Torna al blog